

Introduction
The joy of baking often comes from the sweet aroma that fills your kitchen and the satisfaction of indulging in a fresh, warm cookie. However, not everyone has the time or the inclination to spend hours in the kitchen. Enter the microwave chocolate chip mug cookie—a quick and delightful solution for those moments when the craving for something sweet strikes. This recipe is designed for simplicity and speed, allowing you to whip up a delicious treat in just a few minutes. Whether you’re a busy professional, a student, or simply someone who enjoys a quick dessert, this mug cookie is the perfect indulgence.
Mug cookies have taken the dessert world by storm, and it’s easy to see why. They are the ultimate fusion of convenience and taste, allowing cookie lovers to enjoy a freshly baked goodie without the fuss of traditional baking methods. In a world where time is often in short supply, this single-serving dessert hits the sweet spot. You can satisfy your sweet tooth in minutes, making it an ideal choice for late-night snacks, quick dessert fixes, or when unexpected guests pop by.
The Allure of Mug Cookies
Understanding the popularity of mug cookies starts with acknowledging their convenience. In just a few minutes, you can create a warm, gooey treat without the need for an oven or a lengthy baking process. This is particularly appealing for those who may not have access to a full kitchen setup or simply prefer a no-fuss approach to dessert. The microwave’s efficiency allows you to go from craving to satisfaction in record time.
Mug cookies are particularly perfect for single servings. This aspect not only reduces food waste but also ensures that you can enjoy a freshly baked cookie without the temptation of a dozen sitting on the countertop. For those who live alone or are simply trying to watch their portion sizes, mug cookies provide a guilt-free way to indulge in something sweet without the commitment of a full batch.
Moreover, the beauty of mug cookies lies in their versatility. You can customize them to your liking by adding different flavors, toppings, or mix-ins. From nuts to sprinkles, the possibilities are endless, making it easy to experiment and find your perfect combination. This adaptability has helped mug cookies become a beloved staple among dessert enthusiasts of all ages.
Essential Ingredients for a Delicious Mug Cookie
Now that you’re intrigued by the concept of a mug cookie, let’s dive into the essential ingredients that contribute to its deliciousness. Each component plays a vital role in achieving that perfect balance of flavor and texture.
Unsalted Butter
The foundation of any good cookie recipe starts with butter, and using unsalted butter is crucial for controlling the overall flavor profile. It allows you to adjust the salt levels in your recipe, ensuring that your cookie isn’t too salty. When melted, the butter provides a rich, creamy texture that enhances the overall indulgence of the mug cookie. For this recipe, simply melt the butter in your mug, making it easy to combine with the other ingredients.
Sugars: Granulated vs. Brown
The combination of sugars is essential for achieving the right sweetness and texture in your mug cookie. Granulated sugar contributes to the overall sweetness and helps the cookie spread as it bakes, while brown sugar adds moisture and a rich caramel flavor due to its molasses content. This duo works together to create a cookie that is both chewy in the center and slightly crisp around the edges, giving you the best of both worlds.
The Role of Eggs
In traditional baking, eggs serve as a binding agent, providing structure and moisture. For our mug cookie, you will only use the yolk. This is because the yolk adds richness and helps to emulsify the fats, resulting in a soft and chewy cookie. Using just the yolk also helps maintain the right consistency, ensuring that your mug cookie doesn’t become overly cakey.
All-Purpose Flour
All-purpose flour is another key ingredient that contributes to the texture of your cookie. It provides the necessary structure without making the cookie too dense. When combined with the right proportions of butter and sugars, all-purpose flour helps to create that ideal chewy cookie texture that we all crave. Be sure to measure your flour accurately to prevent any discrepancies in your final product.
The Magic of Chocolate Chips
No chocolate chip cookie is complete without chocolate chips. They are the star of this recipe, providing that signature melty goodness in every bite. You can use semi-sweet, milk chocolate, or even dark chocolate chips, depending on your personal preference. Feel free to mix in other ingredients like nuts or peanut butter chips for added flavor and texture.
Step-by-Step Guide to Making Your Microwave Chocolate Chip Mug Cookie
Now that you have an understanding of the essential ingredients, let’s get into the step-by-step guide on how to make your very own microwave chocolate chip mug cookie. This process is straightforward and designed for ease, so you can enjoy your treat in no time.
1. Melt the Butter
Start by measuring out 1 tablespoon of unsalted butter and placing it in your microwave-safe mug. Heat it in the microwave for about 20-30 seconds or until it is fully melted. Be cautious not to overheat it, as you want the butter to melt gently without bubbling. This melted butter will serve as the base for your cookie and will help to create that delightful, gooey texture.
2. Combine Sugars
Once the butter has melted, it’s time to add the sugars. Measure out 1 tablespoon of granulated sugar and 1 tablespoon of brown sugar, then add them to the melted butter in your mug. Using a fork or a small whisk, mix the sugars and melted butter together until well combined. This step is crucial for achieving that perfect blend of sweetness and flavor.
3. Mix in Vanilla Extract and Salt
Next, enhance the flavor of your cookie by adding 1/4 teaspoon of vanilla extract and a pinch of salt to the mixture. The vanilla extract adds a lovely aromatic quality to your cookie, while the salt helps to balance the sweetness. Stir the mixture well to ensure that the flavors are evenly distributed.
4. Incorporate the Egg Yolk
Now it’s time to add the egg yolk. Carefully separate one egg, discarding the white, and add the yolk to your mug. This step is essential for achieving the right consistency in your cookie. Mix the yolk into the butter and sugar mixture until fully combined. The result should be a creamy, smooth batter that is ready for the dry ingredients.
5. Add the Flour and Chocolate Chips
Finally, it’s time to bring everything together. Add 3 tablespoons of all-purpose flour to the mug and gently fold it into the mixture until just combined. Be careful not to overmix, as this can lead to a tough cookie. Once the flour is incorporated, fold in 2 tablespoons of chocolate chips, ensuring they are evenly distributed throughout the batter.
Your mixture should now resemble a thick cookie dough, ready to be transformed into a delicious treat.
This concludes the first part of your journey to creating the ultimate microwave chocolate chip mug cookie. The next steps will guide you through the cooking process and offer tips for achieving the perfect cookie. Stay tuned for the continuation of this indulgent dessert adventure!
Folding in the Flour: Avoiding Lumps for Smooth Batter
Once you have combined the wet ingredients in your microwave-safe mug, it’s time to fold in the flour. This step is crucial for achieving a smooth and consistent batter. To start, gently sprinkle the flour over the mixture instead of dumping it all at once. This technique helps to prevent clumping and allows the flour to incorporate evenly. Using a small spatula or a spoon, gently fold the flour into the wet ingredients. The goal is to combine them without overmixing, as this can lead to a dense cookie rather than a light, fluffy one.
As you fold, be sure to scrape down the sides of the mug to incorporate any flour that may have stuck to the edges. If you notice any lumps, don’t worry too much—small lumps will typically dissolve during the microwaving process. However, strive for a batter that has minimal clumping to ensure an even bake.
Adding Chocolate Chips: Ensuring Even Distribution
Now that your batter is smooth, it’s time to add the star ingredient: chocolate chips. For an even distribution, sprinkle the chocolate chips into the batter rather than dumping them all in one spot. This allows for a more uniform spread throughout the cookie once microwaved. Use a spoon to gently fold the chocolate chips into the batter, making sure they are evenly dispersed.
Feel free to mix in different types of chocolate chips—dark, milk, or even white chocolate—to customize your mug cookie. You could also consider using mini chocolate chips, which melt quickly and provide a delightful burst of chocolate flavor in every bite.
Microwaving: Timing and Techniques for Perfect Results
Microwaving your cookie is where the magic happens, but timing is vital. Start by placing your mug in the microwave and cooking it on high for 30 seconds. After the initial time, check the cookie’s doneness. Depending on your microwave’s wattage, you may need to microwave for an additional 10-20 seconds. The cookie is done when it has risen and looks set, with a slightly soft center.
Be cautious not to overcook the cookie, as it will continue to cook slightly even after being removed from the microwave due to residual heat. If your microwave tends to run hot, consider using shorter intervals to avoid a dry cookie.
Cooling Time: Why Patience is Key Before Indulging
Once your cookie is done, it’s essential to let it cool for a minute or two before diving in. While it may be tempting to eat it right away, allowing it to cool slightly enhances the flavor and texture. The residual heat will continue to cook the cookie, helping to develop that gooey center you crave.
Additionally, cooling the mug slightly makes it safer to handle and eat. Remember, patience is key!
The Science Behind Microwave Baking
Understanding the science behind microwave baking can elevate your mug cookie experience. Microwaving works by agitating water molecules in food, causing them to vibrate and produce heat. This process is different from conventional baking, where heat surrounds the food and cooks it more evenly.
Understanding How Microwaving Affects Dough
When baking dough in the microwave, the rapid cooking can lead to a texture that differs from traditional oven-baked cookies. The moisture in the dough creates steam, which helps in lifting the cookie. However, this steam can also cause the cookie to become rubbery if overcooked.
Why Timing is Crucial for Achieving the Right Texture
Timing is essential in microwave baking because the cooking process happens quickly. As mentioned earlier, starting with shorter intervals and checking for doneness helps ensure your mug cookie achieves a soft, gooey texture without becoming tough or dry.
The Role of Moisture in the Baking Process
Moisture is key to achieving the perfect mug cookie. The balance of wet and dry ingredients is crucial; too much moisture can lead to a soggy cookie, while too little can result in a dry texture. This is why it’s important to measure ingredients accurately and adjust based on your preferences.
Tips on Adjusting the Recipe Based on Microwave Wattage
Since microwaves vary in wattage, it’s a good idea to adjust your cooking time based on your specific appliance. If you have a lower wattage microwave (around 600 watts), you may need to increase the cooking time by 10 to 20 seconds. Conversely, for higher wattage microwaves (over 1000 watts), start with the shorter cooking time to prevent overbaking.
Creative Variations to Personalize Your Mug Cookie
Your microwave chocolate chip mug cookie can be a canvas for creativity. Here are some delightful variations to inspire your next baking adventure.
Exploring Flavor Variations: Adding Nuts, Spices, or Other Chocolates
You can easily customize the flavor of your mug cookie by adding ingredients like chopped nuts or spices. A sprinkle of cinnamon or a dash of vanilla extract can elevate the flavor profile. For a twist, consider incorporating peanut butter chips, butterscotch chips, or even crushed candy bars for an added crunch.
Ideas for Alternative Toppings: Ice Cream, Whipped Cream, or Fruit
To take your mug cookie to the next level, think about toppings. A scoop of vanilla ice cream on top of your warm cookie can create a delightful melt-in-your-mouth experience. Alternatively, a dollop of whipped cream or a drizzle of chocolate syrup can add extra sweetness. For a fresh twist, consider topping with sliced bananas or strawberries for a fruity touch.
Adjusting Sweetness: Experimenting with Different Sugar Types
You can also experiment with the sweetness of your mug cookie by using different types of sugar. Brown sugar adds a chewy texture and caramel flavor, while granulated sugar provides a classic sweetness. For a healthier option, try substituting coconut sugar or honey for a hint of natural sweetness. Just be sure to adjust the wet ingredients to account for any liquid sugars.
Serving Suggestions for Your Mug Cookie
Your microwave chocolate chip mug cookie is not only delicious but can also be presented beautifully. Here are some serving ideas to enhance your dessert experience.
Best Ways to Enjoy Your Mug Cookie
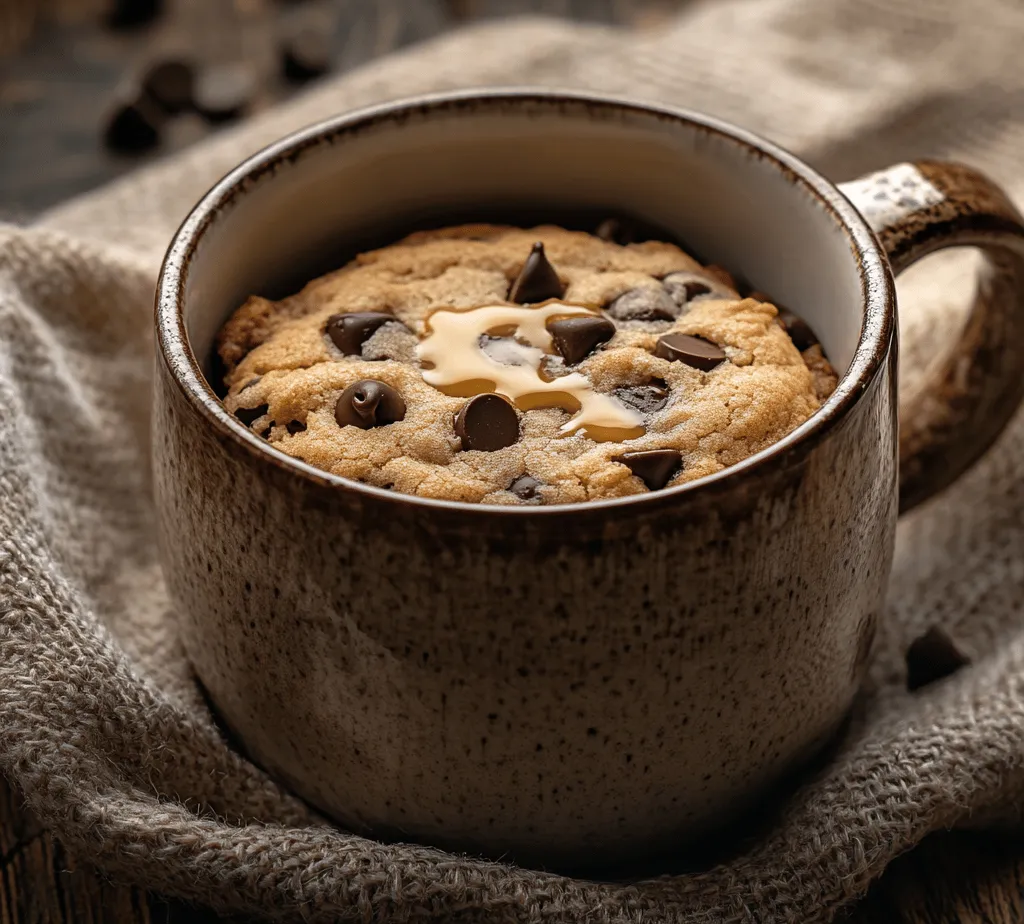
Enjoy your mug cookie warm, straight from the microwave. If you’ve added ice cream or toppings, serve it while the cookie is still warm to create a delightful contrast between the hot cookie and cold toppings.
Pairing Ideas: Beverages That Complement Your Dessert
To complement your mug cookie, consider pairing it with a warm beverage. A cup of coffee, hot chocolate, or a soothing cup of tea can enhance the flavors and bring a cozy element to your dessert experience. For a fun twist, try a flavored latte or chai to match the sweetness of your cookie.
Presentation Tips for Serving at Gatherings
If you’re serving mug cookies at a gathering, consider presenting them in a creative way. Use colorful mugs or small dessert bowls to serve each cookie, and don’t hesitate to add a sprinkle of sea salt or a drizzle of caramel sauce for that extra wow factor. You can also create a “build-your-own” mug cookie station, allowing guests to customize their toppings and flavors.
Conclusion
The microwave chocolate chip mug cookie is more than just a quick treat; it’s a testament to the joy of baking made accessible. With just a handful of ingredients and a few minutes, you can create a warm, gooey cookie that satisfies your sweet tooth without the fuss of traditional baking. Whether enjoyed alone or shared with friends, this easy recipe offers a delightful escape into indulgence, proving that sometimes the best things come in small packages. So the next time you crave something sweet, remember that a delicious dessert is just a mug away. With the tips, variations, and serving suggestions provided, you are now equipped to make this quick treat your own, making every bite a moment of sweet satisfaction.