

Introduction
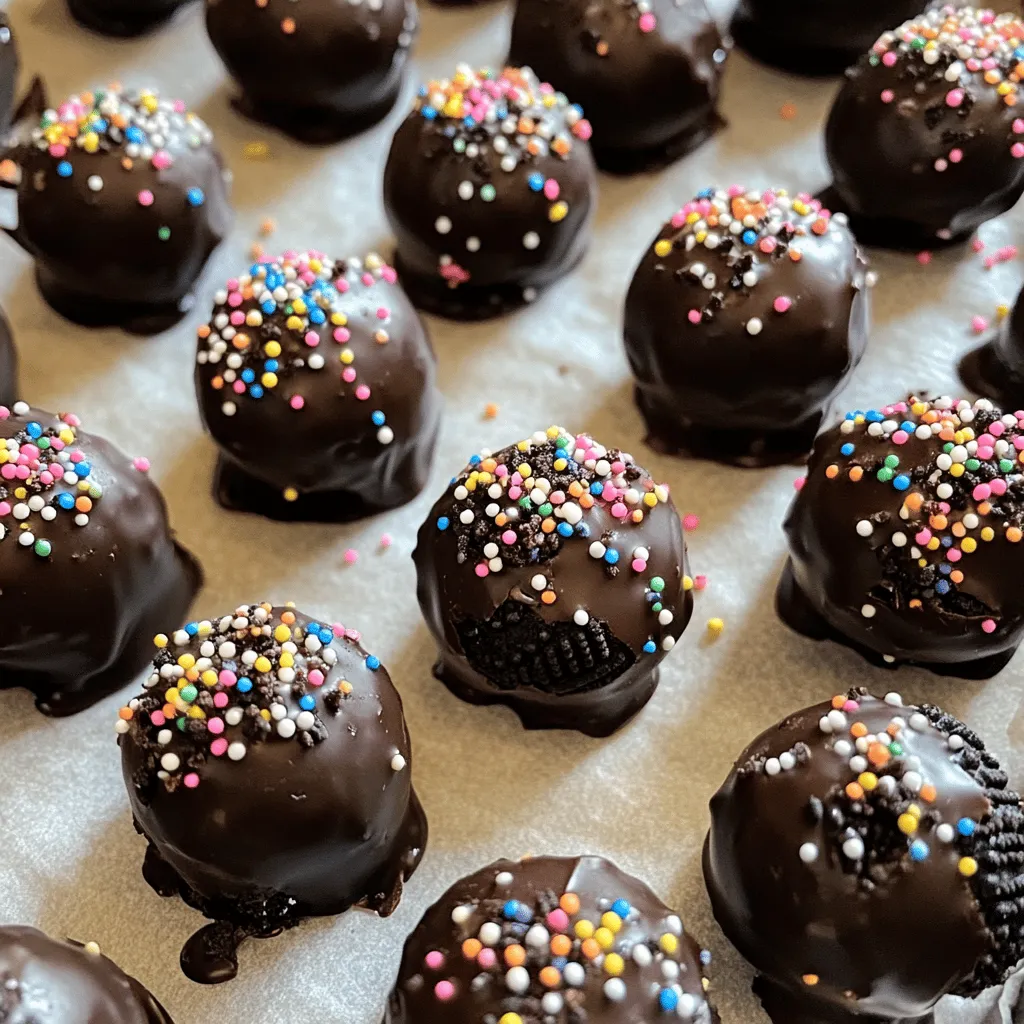
Oreo Bliss Balls are a delightful and simple no-bake dessert that has captured the hearts of cookie lovers worldwide. These little bites of joy combine the rich, chocolatey flavor of Oreo cookies with the creamy texture of cream cheese, all enveloped in a luscious chocolate coating. What makes them particularly appealing is not just their addictive taste but also their ease of preparation. With minimal steps and no need for an oven, Oreo Bliss Balls are perfect for anyone looking to satisfy their sweet tooth without the fuss of traditional baking.
The popularity of these bliss balls has skyrocketed, especially among dessert enthusiasts seeking quick and indulgent treats. Whether you’re hosting a birthday party, celebrating a holiday, or simply want to enjoy a sweet snack at home, Oreo Bliss Balls fit the bill perfectly. They are versatile enough to be adapted for various occasions, and their no-bake nature makes them a convenient choice for busy individuals or families. In this article, we will explore the allure of Oreo Bliss Balls, breaking down their ingredients, and providing you with a step-by-step guide to make them.
The Allure of Oreo Bliss Balls
A Beloved Cookie
Oreo cookies have long been one of the most popular snacks globally, known for their distinctive black-and-white appearance and unique flavor profile. Since their introduction in 1912, Oreos have become a staple in many households, often enjoyed with a glass of milk or as a key ingredient in various desserts. The cookie’s crispy exterior and creamy filling create a perfect balance of textures, making them an ideal base for a variety of sweet treats, including our star attraction: the Oreo Bliss Ball.
The Trend of No-Bake Desserts
The rise of no-bake desserts has transformed the baking landscape, allowing home cooks and dessert lovers to whip up delicious treats without the need for an oven. This trend is not only rooted in convenience but also in the appeal of quick and easy recipes that can be prepared in a matter of minutes. No-bake desserts, like Oreo Bliss Balls, are perfect for those who may feel intimidated by traditional baking techniques or simply lack the time to create more complex confections.
Indulgent Treats for All Ages
As the quest for simple yet indulgent treats continues, Oreo Bliss Balls have emerged as a crowd-pleaser for all ages. Kids adore their sweet taste and fun presentation, while adults appreciate the nostalgic flavor of Oreos combined with the creamy richness of cream cheese. These bite-sized delights can easily be made in large batches, making them an excellent option for celebrations, potlucks, or family gatherings.
Ingredients Breakdown
To create these Oreo Bliss Balls, you’ll need a handful of ingredients that come together to create a truly satisfying treat. Let’s take a closer look at each component and what role it plays in the final product.
Oreo Cookies
The star ingredient of our recipe is, of course, Oreo cookies. While the classic Oreo is universally loved, the variety of flavors available today offers endless possibilities for customization. From the original Oreo to seasonal flavors like Pumpkin Spice or Birthday Cake, each type of Oreo can influence the flavor profile of your Bliss Balls. Whether you choose to stick with the classic or experiment with something new, the essential characteristic remains: the cookies provide a crunchy texture and a rich chocolate flavor that forms the base of the dessert.
Cream Cheese
Cream cheese is another crucial component in this recipe, contributing to the rich, creamy texture that makes Oreo Bliss Balls so enjoyable. It serves to balance the sweetness of the cookies while binding the crumbs together to create a cohesive mixture. When mixed with crushed Oreos, cream cheese turns the dry cookie crumbs into a smooth, moldable dough that can be easily rolled into balls. For the best results, use softened cream cheese, as it will blend more seamlessly with the cookie crumbs and result in a smoother texture.
Chocolate Coating
To add an extra layer of indulgence, the Bliss Balls are coated in chocolate. You can choose between dark chocolate or milk chocolate, each offering a unique taste and sweetness level. Dark chocolate has a rich, bittersweet flavor that pairs beautifully with the sweetness of the Oreo filling, while milk chocolate provides a sweeter counterpart that enhances the overall dessert experience. Consider the health aspects as well; dark chocolate contains antioxidants and less sugar, making it a slightly healthier option. Whatever your choice, the chocolate coating adds a delightful crunch and a visually appealing touch to your Oreo Bliss Balls.
Optional Ingredients
While the basic recipe is delicious on its own, there are optional ingredients that can elevate your Oreo Bliss Balls even further. A splash of vanilla extract can enhance the flavor, adding a subtle warmth that complements the other ingredients. Additionally, you can get creative with decorations. Sprinkles, crushed Oreos, or even a drizzle of colored chocolate can add visual appeal and make your treats even more festive. These optional touches allow you to personalize your Bliss Balls and make them suitable for any occasion.
Step-by-Step Instructions
Now that we’ve covered the ingredients and their significance, it’s time to delve into the step-by-step instructions for making your very own Oreo Bliss Balls. Follow these guidelines carefully to achieve the perfect treat.
1. Crushing the Cookies
The first step in creating Oreo Bliss Balls is to crush the Oreo cookies. This is a crucial process, as achieving fine crumbs is essential for the final texture of the balls. You can crush the cookies using a food processor for a quick and even result. Simply place the Oreos in the processor and pulse until they reach a fine crumb consistency. If you don’t have a food processor, you can place the cookies in a resealable plastic bag and use a rolling pin to crush them. Just be sure to remove any excess air from the bag before sealing it to avoid any mess.
2. Mixing the Ingredients
Once you have your fine Oreo crumbs, it’s time to mix them with the cream cheese. In a large mixing bowl, combine the crushed Oreos with softened cream cheese. Use a spatula or your hands to thoroughly combine the two ingredients until you achieve a smooth and cohesive mixture. The key here is to ensure that the cream cheese is evenly distributed throughout the cookie crumbs. If the mixture feels too dry, you can add a little more cream cheese to achieve the right consistency, while if it feels too wet, you can add a few more crumbs.
With the mixture well combined, it’s now ready to be rolled into balls. Use a tablespoon or a small cookie scoop to portion out the mixture, rolling it into bite-sized balls with your hands. Aim for a uniform size for even coating and presentation. Once rolled, place the balls on a parchment-lined baking sheet, making sure to leave some space between each one.
Following this step-by-step guide will ensure that your Oreo Bliss Balls come out perfectly every time, ready to impress your family and friends with their delicious flavor and delightful appearance. As you continue with the remaining steps in the recipe, you’ll be just moments away from indulging in this addictive no-bake treat.
Forming the Balls
Once you’ve combined your ingredients into a rich, creamy mixture, it’s time to form the Oreo Bliss Balls. The ideal size for each ball is about one inch in diameter. This size ensures that each bite is satisfying without being overwhelming. Using a small cookie scoop or your hands, take a portion of the mixture and gently roll it into a ball.
As you form the balls, arrange them on a baking sheet lined with parchment paper. Make sure to leave enough space between each ball, as they might slightly expand during the freezing process. This step is essential not only for organization but also for ensuring that the chocolate coating later has ample room to set without sticking to the adjacent balls.
Freezing for Firmness
Freezing the formed Oreo Bliss Balls is a crucial step that should not be overlooked. By placing them in the freezer for at least 30 minutes, you allow the balls to firm up, making them easier to handle during the chocolate coating process. If the mixture is too soft, it can disintegrate when dipped in chocolate, resulting in a messy endeavor. This freezing step ensures that the balls retain their shape and allows the chocolate to adhere better once dipped.
Melting the Chocolate
Melting chocolate is an art that requires attention to detail to avoid burning. To melt your chocolate, you can choose between the microwave method or using a double boiler. If you opt for the microwave, place your chopped chocolate in a microwave-safe bowl. Heat it in 30-second intervals, stirring between each interval, until fully melted. This stirring is crucial as it helps to evenly distribute the heat and prevents any chocolate from burning at the bottom.
If you prefer the double boiler method, fill a saucepan with water and bring it to a gentle simmer. Place a heatproof bowl on top, ensuring that the bowl doesn’t touch the water. Add your chocolate to the bowl and stir continuously until it melts smoothly. This method offers more control over the temperature, lowering the risk of burning.
Dipping and Decorating
Once your chocolate is melted, it’s time to dip the Oreo Bliss Balls. Using a fork or a dipping tool, lower each ball into the melted chocolate, ensuring it is fully coated. Gently lift the ball out, allowing any excess chocolate to drip back into the bowl. For an even coat, use the fork to tap the bottom of the ball against the edge of the bowl, which helps remove the excess chocolate.
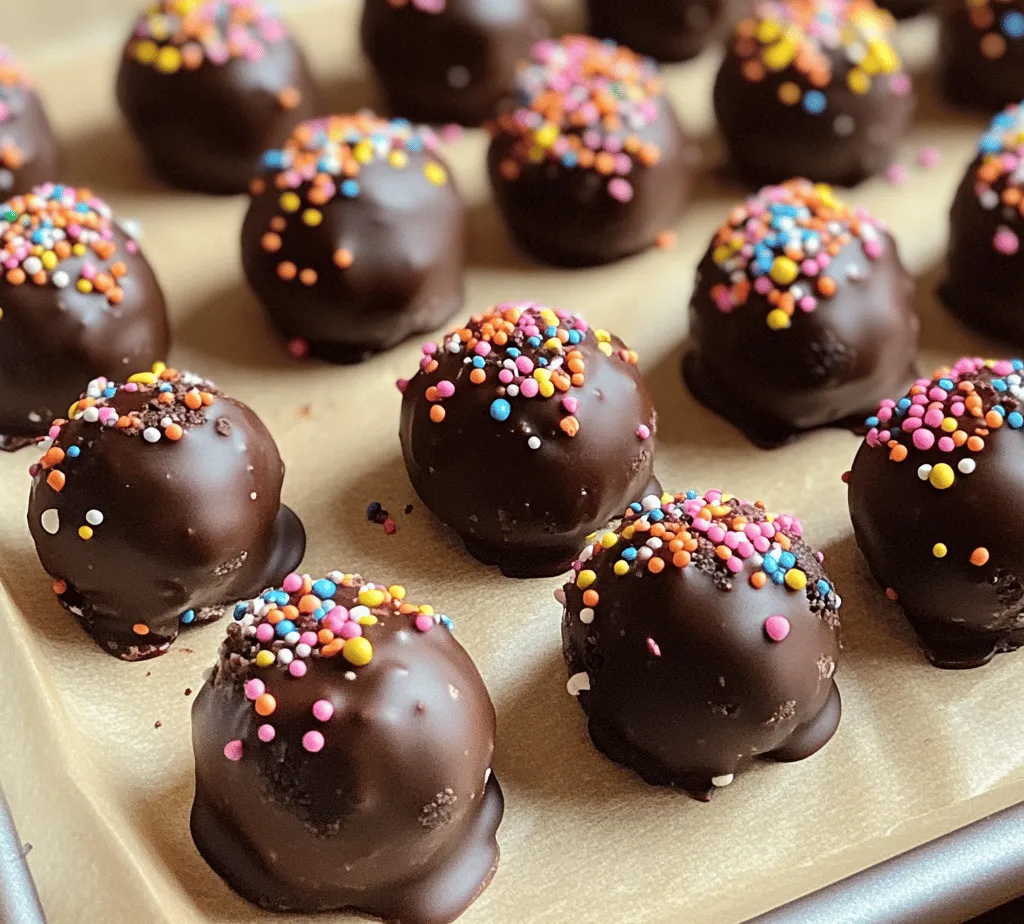
To make your Oreo Bliss Balls visually appealing, consider adding a touch of creativity during the decoration process. You can sprinkle crushed Oreos on top before the chocolate sets, drizzle white chocolate over the dark chocolate for contrast, or even use colorful sprinkles for a festive touch. These decoration ideas not only enhance the appearance of your bliss balls but also add an extra layer of flavor and texture.
Setting the Chocolate
After dipping and decorating, it’s important to let the chocolate set properly. Place the coated Oreo Bliss Balls back on the parchment-lined baking sheet and allow them to sit at room temperature for about 20-30 minutes. If you’re in a hurry, you can also place the baking sheet in the refrigerator for about 10-15 minutes to speed up the setting process. Avoid moving the balls too much during this time to prevent any smudging of the chocolate coating.
Serving Suggestions
Oreo Bliss Balls are perfect for any occasion, making them a versatile treat to serve at parties, gatherings, or simply to enjoy at home. For an elegant presentation, arrange the bliss balls on a decorative platter, stacking them in tiers or placing them in cupcake liners. You can also serve them alongside a selection of beverages. They pair beautifully with a glass of cold milk, a warm cup of coffee, or even a dessert wine.
For themed events, consider customizing your Oreo Bliss Balls. For Halloween, roll them in orange or black sprinkles; for Christmas, use red and green decorations. You can also create a variety of flavors by adding different extracts or using flavored chocolate for dipping, such as mint or raspberry.
Storage and Shelf Life
To maintain the freshness of your Oreo Bliss Balls, store them in an airtight container at room temperature for up to a week. If you want to keep them for a longer period, you can refrigerate them, which will extend their shelf life to about two weeks. For even longer storage, consider freezing them. Place the bliss balls in a single layer on a baking sheet until frozen, then transfer them to a freezer-friendly bag or container. When stored correctly, they can last for up to three months in the freezer. To enjoy, simply let them thaw at room temperature for about 30 minutes.
Nutritional Information
While Oreo Bliss Balls are a delightful indulgence, it’s essential to be mindful of portion sizes. Each bliss ball contains a mix of cream cheese, Oreos, and chocolate, offering a treat that is rich in flavor but also calorie-dense. Depending on your ingredients, a single ball typically contains around 100 calories. For those looking to lighten the recipe, consider using reduced-fat cream cheese or dark chocolate, which can provide a slightly healthier alternative without sacrificing taste.
Conclusion
Making Oreo Bliss Balls is a simple yet rewarding baking project that yields delicious results. These bite-sized treats are a crowd-pleaser, perfect for any gathering or as a sweet treat to enjoy at home. With just a few steps and some creativity, anyone can whip up a batch of these indulgent delights, regardless of their baking skill level. Whether you’re making them for yourself or sharing with friends and family, Oreo Bliss Balls are sure to bring joy to any occasion. So gather your ingredients, roll up your sleeves, and dive into the delightful world of Oreo Bliss Balls!
